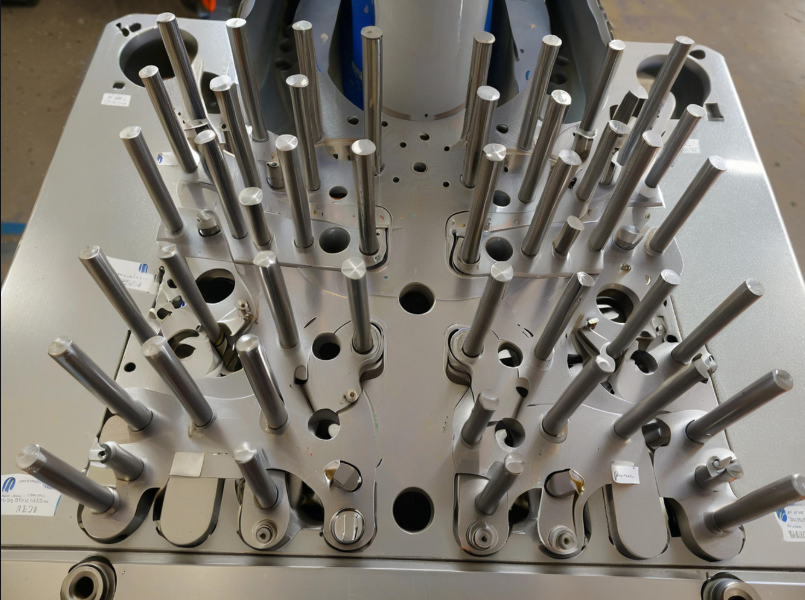
The horn antenna serves as the reflecting surface antenna of the feed array, that can be CNC machining. It has remarkable features, such as a wide operating frequency, large power capacity, high gain, and a stable phase center.
Due to these features, the horn antenna is now widely used in the fields of communication, radar, and electronic countermeasures.
The antenna array of an aerospace product requires a small size and light weight. To meet these requirements, the designers integrate multiple horn antennas together.
These antennas are electrically and mechanically connected through a complex waveguide transition section (see Figure 1).
Multiple horn antennas are mounted onto the waveguide transition section.
The electromagnetic signals then enter the back-end transmission through the waveguide transition section.
To ensure efficient transmission of electromagnetic signals, the precision of the inner cavity and mounting flange of the waveguide transition section is crucial.
This significantly increases the processing difficulty of the waveguide transition section.

Processing accuracy requirements
The waveguide transition section is a four-way waveguide with high processing accuracy requirements, which are mainly reflected in the following aspects.
(1) The dimensional tolerance, parallelism and perpendicularity between the waveguide flange and the flange are required to be ±0.05mm.
(2) The step hole of waveguide transition section is 73.18mm long, and the roughness value of inner wall surface is Ra=3.2μm.
(3) Waveguide flange on the waveguide mouth size tolerance requirements ± 0.03mm, surface roughness value Ra = 3.2μm.
Analysis of processing difficulties
After analyzing, the following difficulties exist in the processing of waveguide transition section.
(1) Positional accuracy is not easy to ensure.
The waveguide transition section is a four-way waveguide. Conventional CNC milling processing uses general-purpose fixtures and a 3-axis machining approach.
This requires multiple clamping and positioning to process from different directions.
As a result, it is difficult to ensure the relative positional accuracy between the flanges.
(2) Deep hole dimensional accuracy and surface roughness is not easy to ensure.
The waveguide transition section has two long circular groove slots on the side, with a width of 5mm and a depth of 82mm.
The depth-to-width ratio is too large. The four step holes have a small hole diameter and a depth of 73.18mm. Ordinary tools cannot process these holes effectively, so customized extended tools are needed.
However, due to the long tool clamping, the cutting force is poor, leading to tool trembling and other issues. Additionally, the depth of the hole makes chip removal difficult.
As a result, ensuring the dimensional accuracy of the step holes and hole surface roughness becomes challenging.
The roughness of the inner surface of the hole is also difficult to maintain.
(3) Individual design features need to use special processing technology.
The waveguide port on the flange 8 step through the cavity at right angles, the use of CNC milling process can not be processed in place.
Overall solution
To address the process difficulties mentioned above, several measures were taken during the development of the process flow.
These included optimizing the process methods, designing special fixtures, and conducting machine tool machining simulations.
Multiple processing steps were carried out to verify the design, ensuring that the final object meets the design requirements of the drawing (see Figure 2).

Formulate the process flow
Through the analysis, the development of the following process flow:
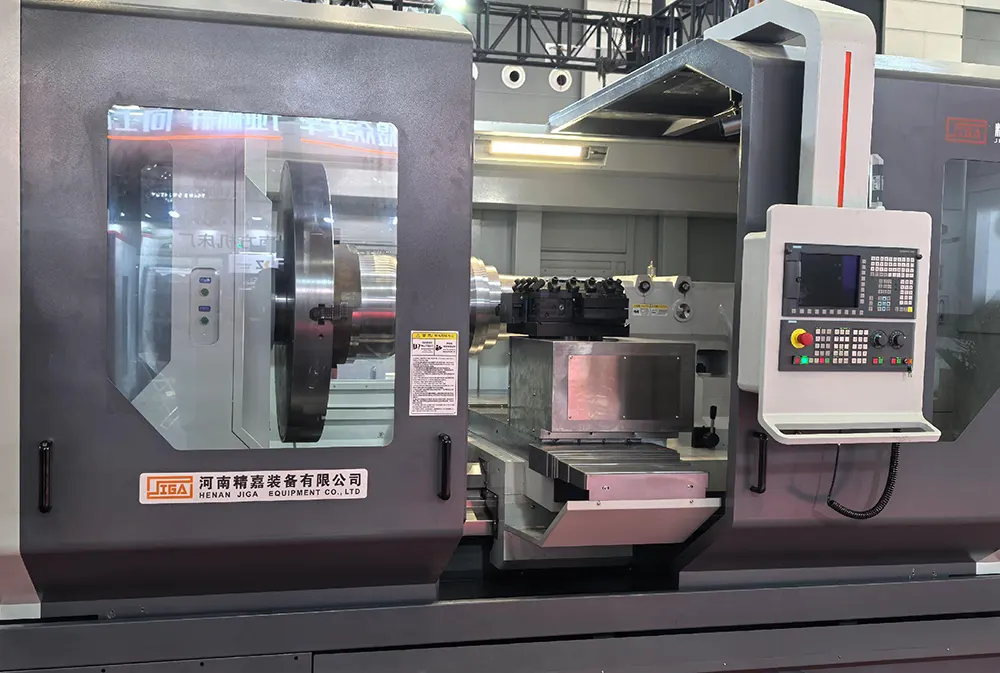
CNC milling roughing profile, leaving 0.5m m on one side → milling round tab clamping position (vise clamping) → 5-axis machining in addition to the chuck face of the rest of the shape of the features, roughing step hole end and long hole → 3-axis machining chuck face, roughing step hole the other end → 4-axis machining step holes → EDM machining of long holes and their right angles.
“The main machining process uses a 5-axis machining center with self-centering chuck clamping.
All cavities, grooves, step holes, and flanges on the upper surface of the A surface and all around are machined in one clamping.
The roughing and finishing are carried out separately to ensure that the relative size tolerance between the four flanges, as well as the surface roughness, parallelism, and perpendicularity, meet the tolerance requirements of ± 0.05mm.
This method better ensures the positional accuracy of each flange relative to the others.
The use of 5-axis roughing and finishing, can better ensure the shape and size accuracy, significantly improve the processing quality.
In addition, the use of EDM special process can realize the processing of 8 through the cavity right angle.
Optimized process method
When machining the two long round through grooves on the side, the grooves are narrow and deep.
A customized extended flat head milling cutter is used, and two-sided machining is adopted.
However, this method resulted in many broken cutters and very poor surface roughness.
By changing the machining method and modifying the tool parameters, a combination of an ordinary standard D4 flat head milling cutter and a D4 customized extended flat head milling cutter is used.
This approach ensures that the through-slot dimensional tolerances and surface roughness requirements are well met.
The original program of step hole processing:
D7 drill for pre-striking → D10 drill for rough expansion of 10.8m m holes → D8 extended flat head milling cutter for 10.8m m holes and 8.8m m holes for finishing → D6 extended flat head milling cutter for 7.2m m holes for finishing.
D6 extended flat head milling cutter for 7.2 m m hole finishing .
5.4 m The step holes could not be machined and were left together with the bottom surface (D-side).
After machining was completed, the table step holes exhibited chattering and letting go due to long tool clamping and poor cutting force.
There was also poor chip removal, and the sidewalls were extruded by chips. As a result, the surface roughness value was Ra > 6.3μm, and the hole diameter overshot by 0.1-0.2mm, which did not meet the technical requirements.
The optimized method uses 5-axis machining to process all cavities, grooves, and flanges on the A side and all around in one clamping and forming.
Meanwhile, the step holes are only rough machined using D7 and D10 drills.
When machining the D surface, the de-clamping bit, step, and slot are machined in place.
The step hole, with a diameter of 5.4mm, is rough milled after being pre-punched through.
This ensures that the step hole penetrates on both sides, making it easier to remove tool chips during finish machining.
Finally, the step hole is finish machined, which helps better guarantee accuracy.
Design special fixture
In the 4-axis finishing step hole, through the design of special fixtures, the use of 4-axis machining center C-axis rotation on the step hole for two-sided finishing.
The step hole finishing fixture is shown in Figure 3. After machining, the coaxiality of the four step holes is within 0.03mm.
The surface roughness value is Ra <3.2μm, and the hole diameter also meets the technical requirements of the drawings. This is confirmed after CMM inspection.

Virtual machining simulation
In order to improve the safety and reliability of the waveguide transition section products during the machining process, the V E R I C U T software is used for CNC machining simulation (see Figure 4).
This simulation helps avoid tool collisions and optimize the process parameters.
At the end of the simulation of the entire machining process, the A U TO-D I F F function can be used to compare the simulation of the machined model with the original model of the part.
This comparison helps identify areas where overcutting or undercutting may have occurred. By doing so, errors can be corrected in a timely manner, improving the accuracy and reliability of the CNC machining programs.

Conclusion
Through the analysis of the structural characteristics and technical difficulties of the waveguide transition section, a reasonable machining process can be developed.
The process method should be optimized, special fixtures and fittings should be designed and produced, and reasonable CNC machining tools and tool parameters should be selected.
Additionally, virtual simulation technology can be used to simulate the process in order to avoid machining risks and ensure that the product machining process can be controlled.
After the actual processing verification, the CNC machining method of the waveguide transition section can effectively ensure the dimensional accuracy and geometric tolerance of the product.
This method allows for high precision machining of the waveguide transition section and also provides a reference for the processing of similar types of parts.